

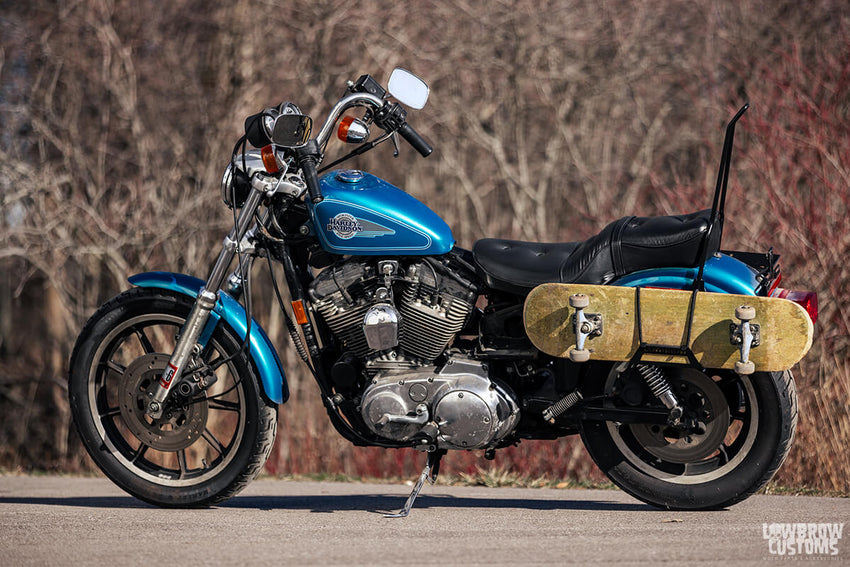
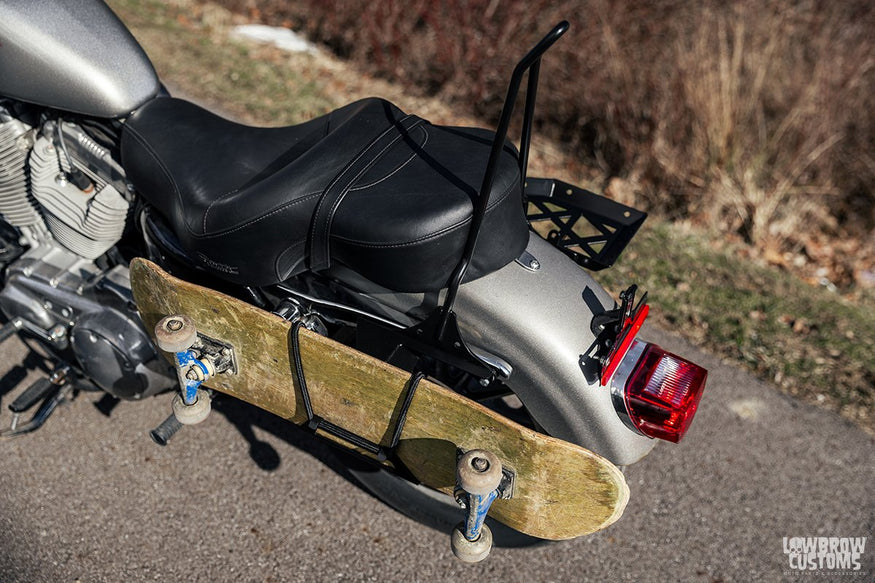
Motorcycles and skateboarding for some reason just goes hand in hand. Maybe its the danger aspect or maybe its just the wind in the hair. Who really knows... With that in mind and nothing really well designed on the market. We decided to mesh the two loves of motorcycling and skateboarding together to create a beefy skateboard carrier that can handle any style of board.
This rack was designed not only to securely mount any style of board to the side of your motorcycle but also too keep it out of the way of hauling a bag or even a friend on the back seat or sissy bar. By combining the capabilities of riding your motorcycle to the skatepark or favorite street spot just takes both passions in life to the next level.
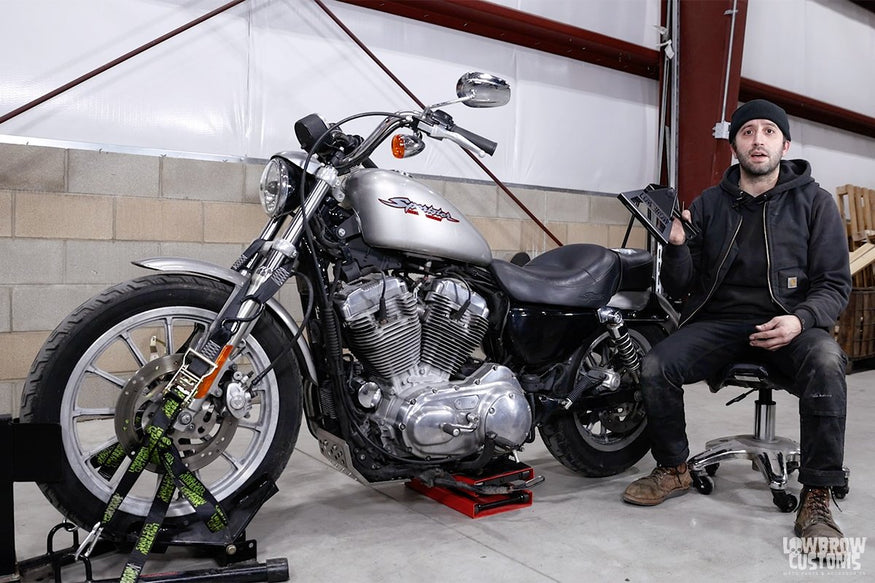
WATCH: HOW TO INSTALL SKATEBOARD CARRIER RACK ON 1994-2003 HARLEY-DAVIDSON SPORTSTER
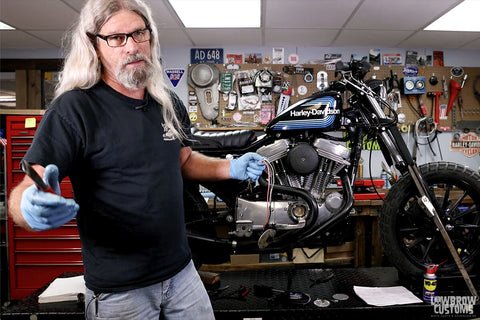
In this video Tim from Fiorucci Fabrications walks you through how easy it is to install a skateboard carrier rack on our shop 1994 Harley-Davidson Sportster. Tim also walks you through how easy it is to take on off your skateboard from the rack utilizing a bungee cord that is provided with the kit.
INSTALLING SKATEBOARD CARRIER RACK ON 1994-2003 HARLEY-DAVIDSON SPORTSTER IN 5 EASY STEPS
 This rack will mount on the left side of your motorcycle.
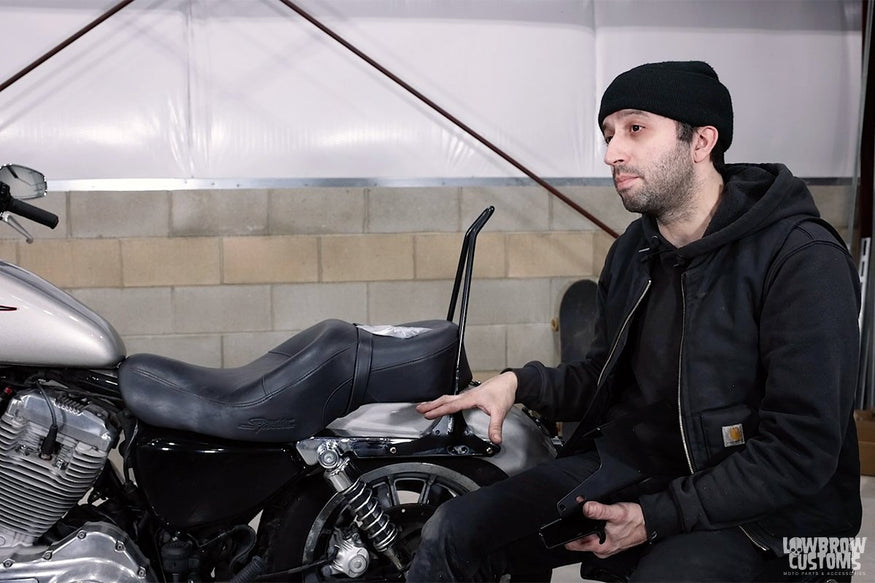
STEP 1: REMOVE BOLTS FROM STRUTS (IF YOU HAVE TURN SIGNALS THOSE NEED TO BE REMOVED AS WELL.
 You can run this skateboard rack with your sissy bar, but we suggest removing your turn signals.
 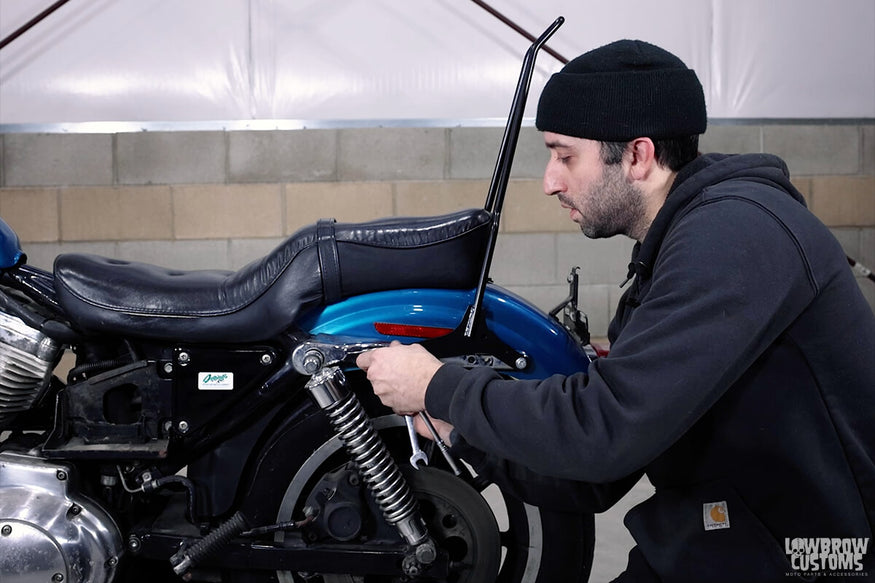 Remove to bolts from strut on fender. Save nuts and or stock back plate with welded nuts and reuse with install.
STEP 2: INSTALL THE SKATEBOARD CARRIER RACK ON TO THE MOTORCYCLE
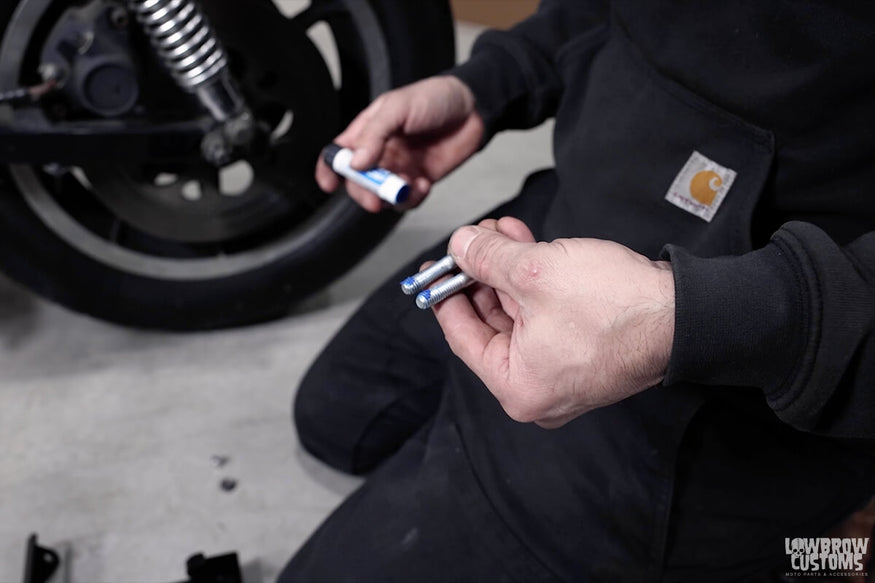 Using supplied hardware in the kit, put blue loctite on both bolts.
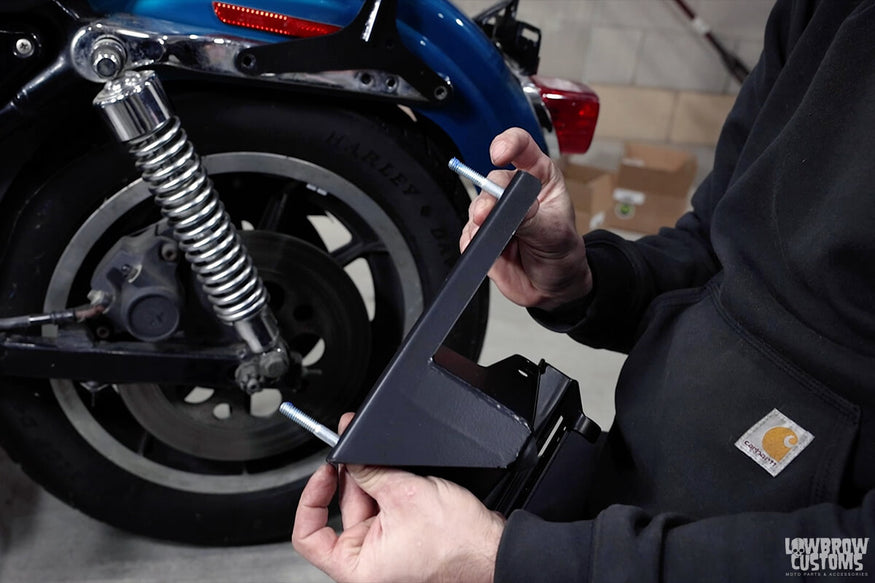 Insert bolts into the skateboard carrier rack.
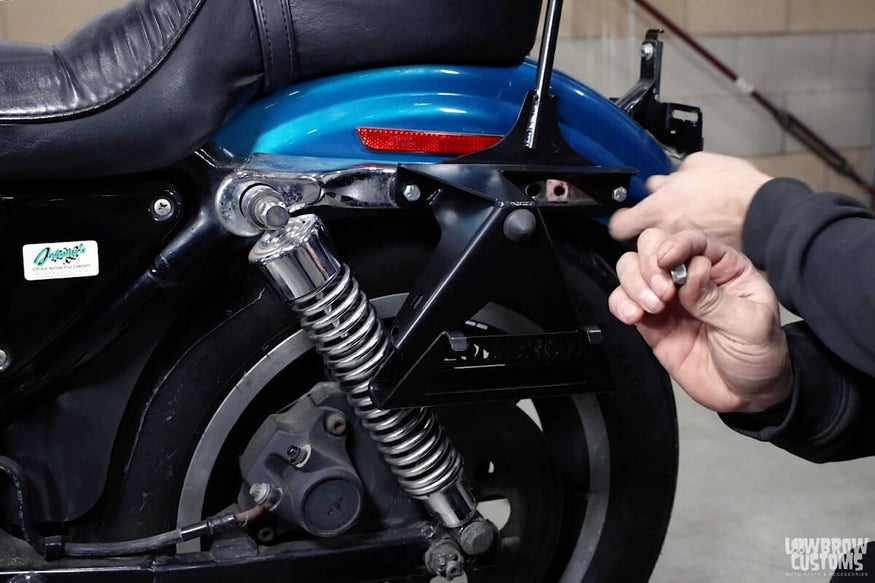 Put bolts into strut mounting holes and used saved nuts or stock backing plate to secure the skateboard rack to the motorcycle.
STEP 3: CHECK BOLT TO TIRE CLEARANCE
You want to make sure you have ample side wall clearance to the new bolts. If your bolts are passed the nut and rubbing, add washers to the outside of the bracket to take up space of the new bolts.
 After final tightening of the bolts, Tim checks clearance to the sidewalls of the tire.
STEP 4: SECURE SKATEBOARD TO THE RACK
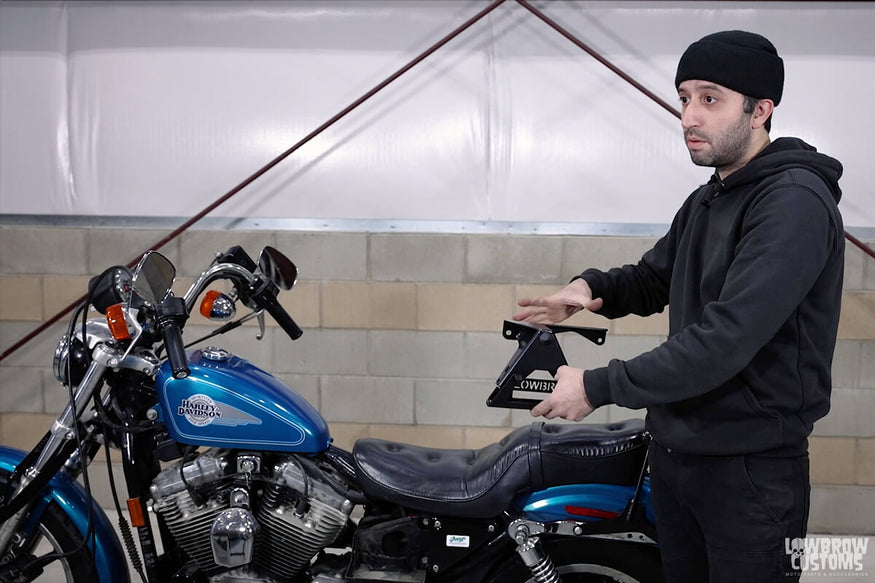
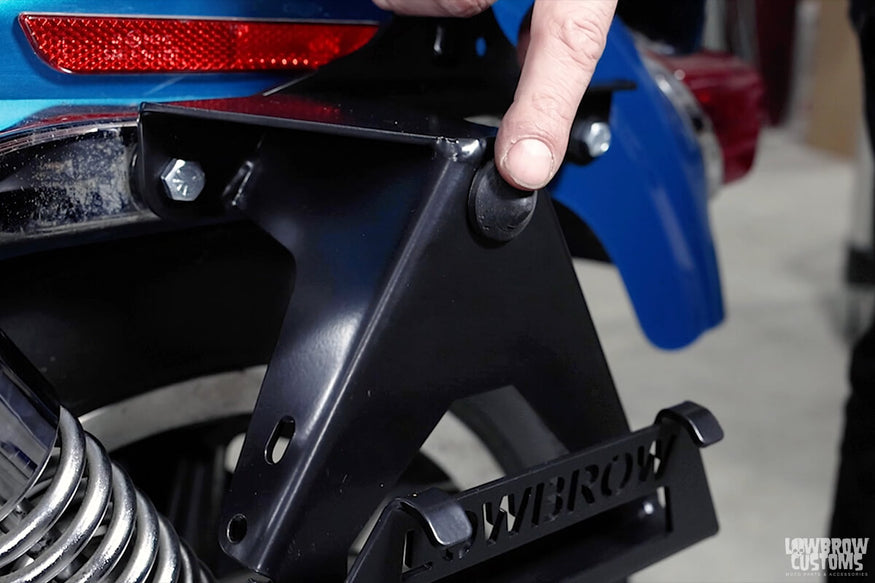 Your rack will have a rubber triangle bumper that comes in the kit, install this onto the top hole as seen above. This bumper allows the board to rest with out making a ton of noise and your grip tape won't rip up the rack.
 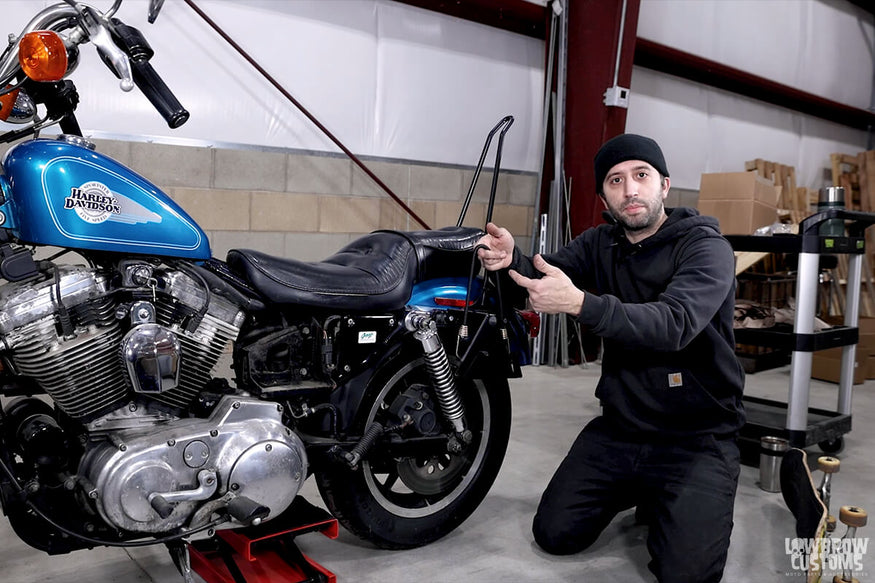 With the supplied bungie cord loop the hooks into the side mounts and pull the bungie up, it will kind of look like a bag handle.
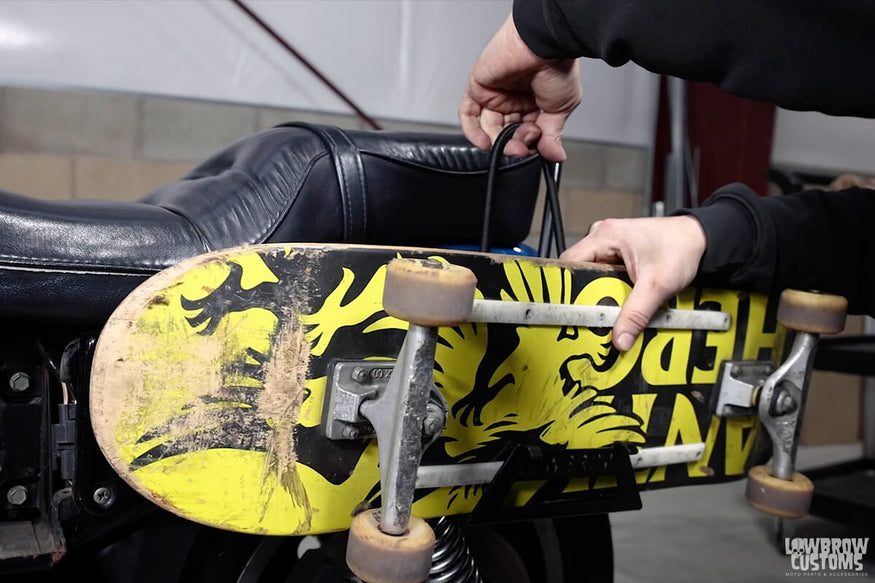 Slide your board into the rack, grip tape side in.
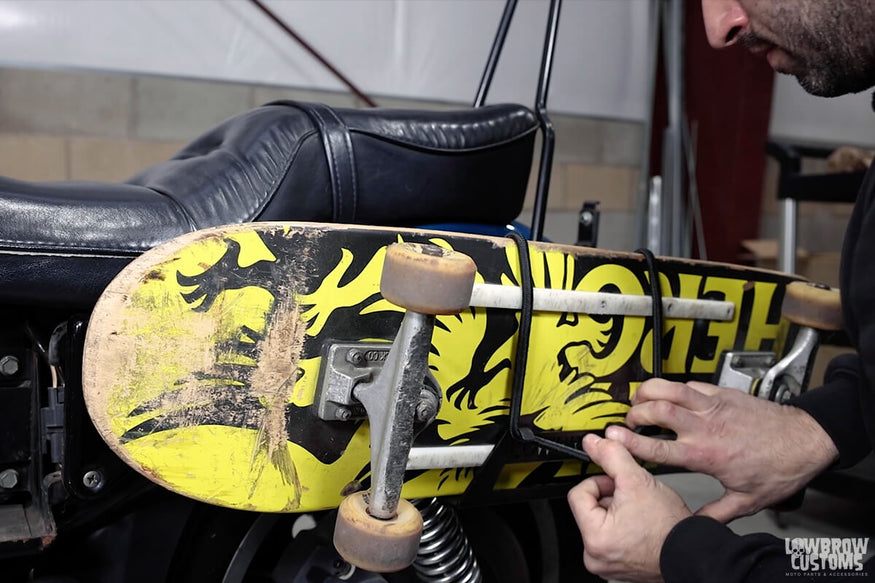 Pull the bungie cord over the top and secure to each mounting point on the bottom of the rack.
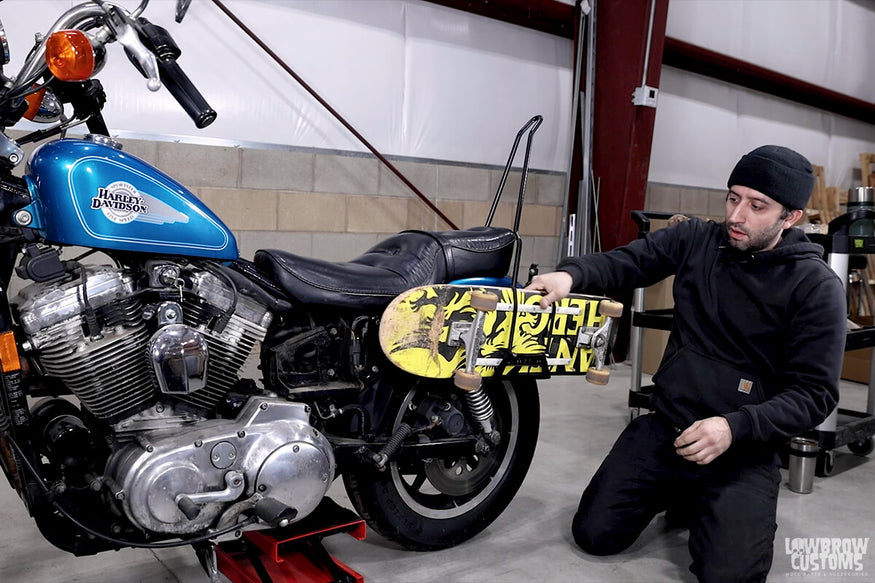 Adjust the board to desired way it sits.
STEP 5: GO FOR A RIDE!
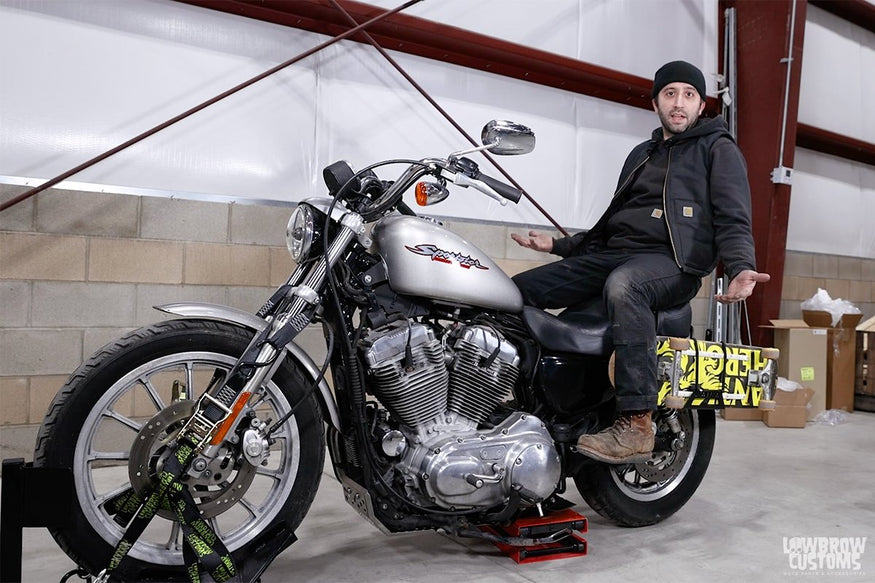
Now that your skateboard carrier rack is installed you can see it saves you room to put a passenger on the back or even a bag. No more scratching up your seat or having a big wind sail on the back of your bike. You are now read to conquer the skatepark and ride there in style.
 Tim showing how you can have a passenger and the skateboard is not in the way.
 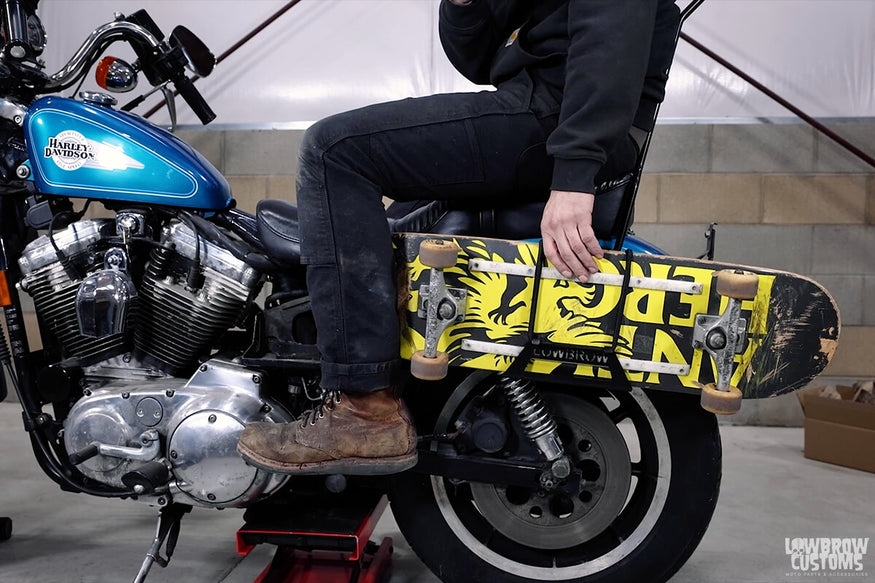 A perfect place to mount a board and still have a bag or passenger on the back.
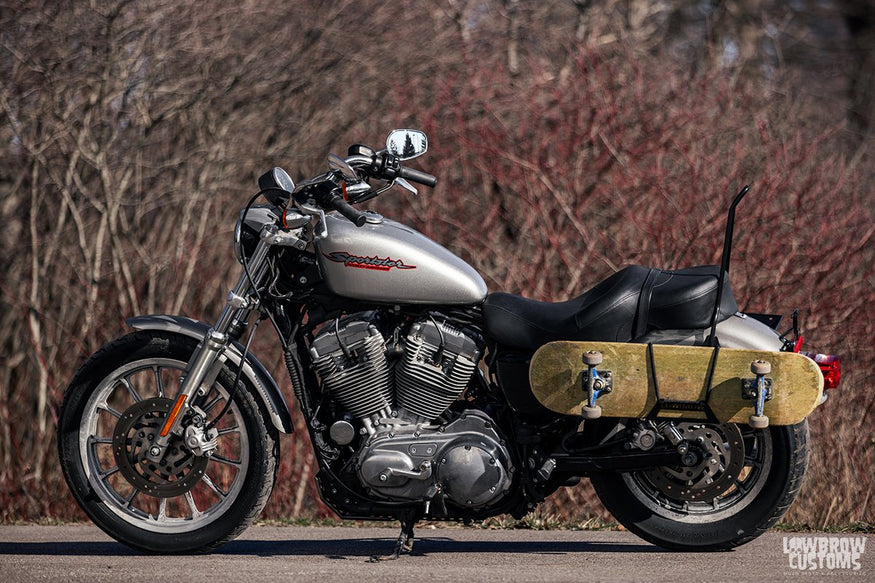
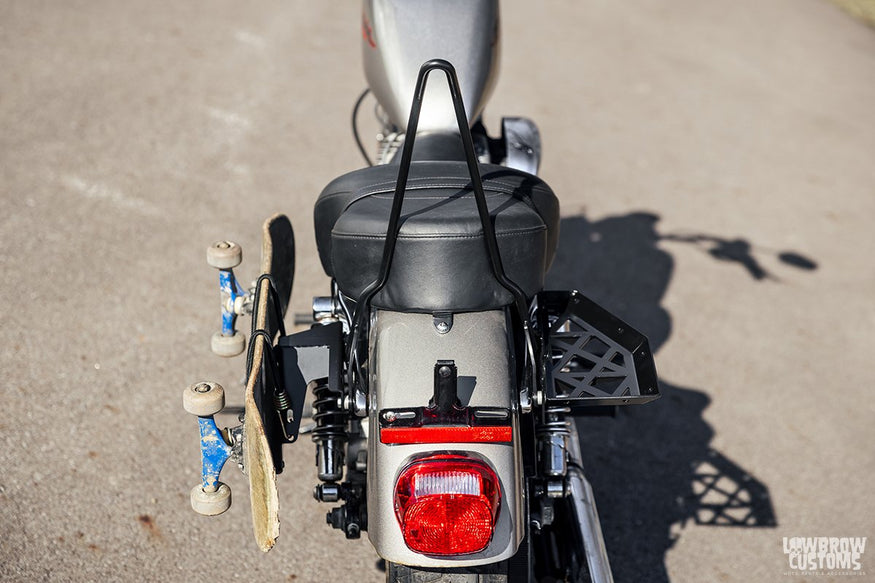
PHOTOS ON A 1994 SPORTSTER
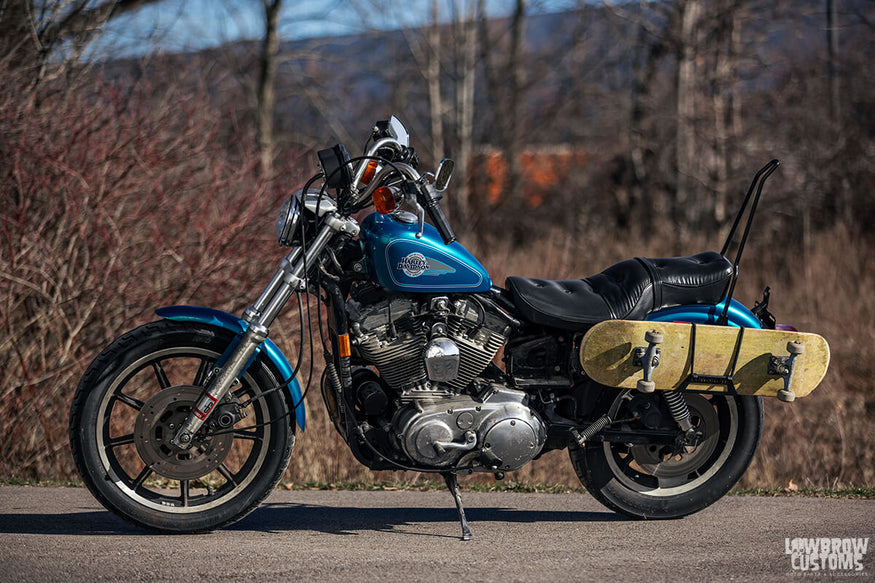 1994 Sportster.
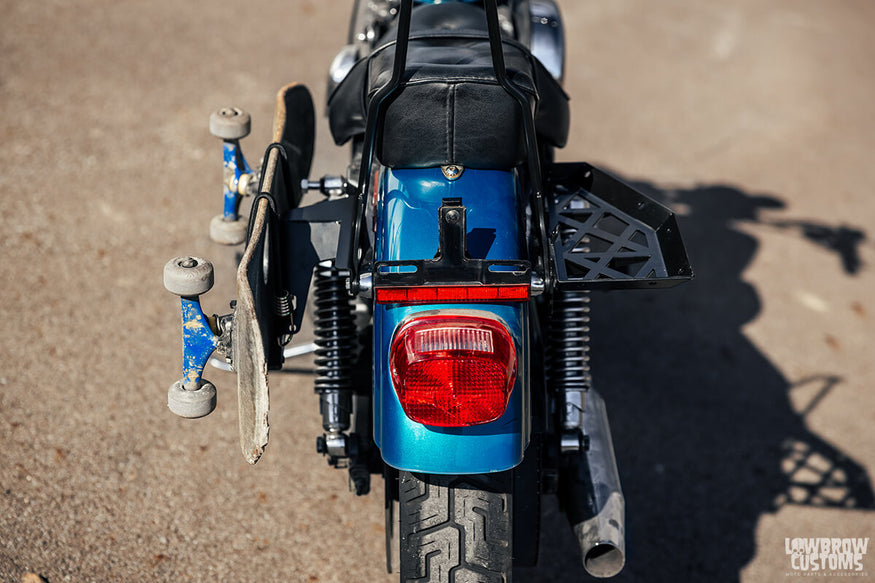 Pairs well with the Moto Luggage Racks.
 Let's go shred the gnar.
WATCH: HOW TO INSTALL SKATEBOARD CARRIER RACK ON 2004-2022 HARLEY-DAVIDSON SPORTSTER
In this video Tim from Fiorucci Fabrications walks you through how easy it is to install a skateboard carrier rack on our shop 2007 Harley-Davidson Sportster. Tim also walks you through how easy it is to take on off your skateboard from the rack utilizing a bungee cord that is provided with the kit.
INSTALLING SKATEBOARD CARRIER RACK ON 2004-2022 HARLEY-DAVIDSON SPORTSTER IN 5 EASY STEPS
 Lets get this skateboard carrier rack on the bike!
STEP 1: REMOVE TURN SIGNALS
First things first you need to remove your turn signals, the Skateboard carrier rack will take over the spot where those big bullet signals go and it cant be ran at the same time. If you need help with this, we removed the turn signal from this motorcycle in a moto rack install video.
 Those turn signals are out of here!
STEP 2: FIGURE OUT WHAT HARDWARE YOU WILL NEED TO USE
This is an easy step, we supply you with 3 different style bolts and a couple washers. Depending on what way you are running the skateboard rack will determining what combination of spacers and length bolts you will be running.
The 1st way, you can install this straight onto the bare steel strut with no sissy bar. You will use the 1/4" spacer on the rear hole location with the long bolt. Put the long bolt in the rear hole of the rack then spacer on the bolt which will lye between the Moto Rack and the strut. The short bolt goes by itself in the front hole location
The 2nd way, you can install it over a gasbox sissy bar, again same install as the 1st way whether using the chrome strut covers or not.
The 3rd way, you can install it over the chrome strut covers with no sissy bar or stock sissy bar. In the kit you will find two thin spacers. Those need to go on both bolts last before installing the Moto Rack onto the chrome strut cover. The rest of process is the same on the 1st way. again 1/4" spacer goes on the rear long bolt, and short bolt goes in the front. If you are running a gasbox sissy bar, no need for those thin washers.
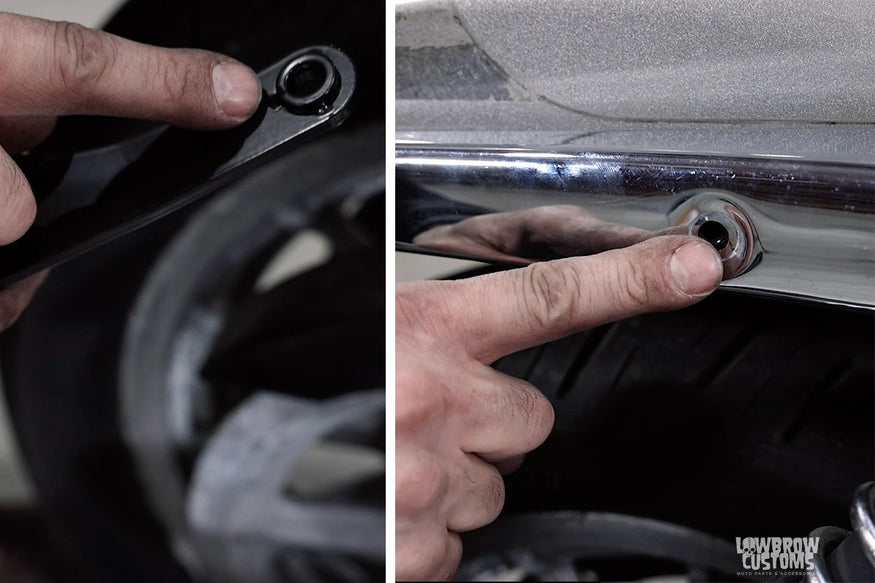
*Important Note* Which ever way you decide to install this Moto Luggage Rack to you bike. You need to make sure there is ample bolt clearance on the inside of your fender and that it wont rub against your tire. A good rule of thumb is to feel the nut, if the bolt is past you may want to add a spacer or two to make it flush with the nut.
 You can see the inside mounting tabs of a gasbox sissy bar has thin washer welded on to take up the space of the chrome stut covers.
 STEP 3: BOLT THE SKATE RACK CARRIER ON TO THE MOTORCYCLE
After figuring out what hardware you are using, lets get that bad boy on there. We are running a Gasbox sissybar over top of the chrome strut covers. All we need to do is use the longest bolt in the rear. Put the 1/4" spacer on after the bolt is in the rack, then use the middle length bolt for the front. OH and don't forget to use some blue Loctite.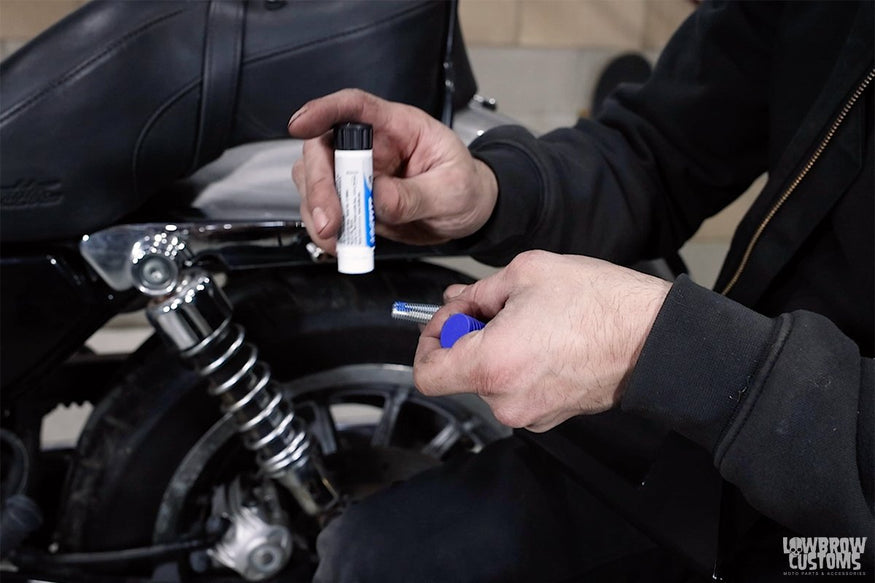 Blue Loctite those bad bois.
 How we used the hardware provided with our set up.
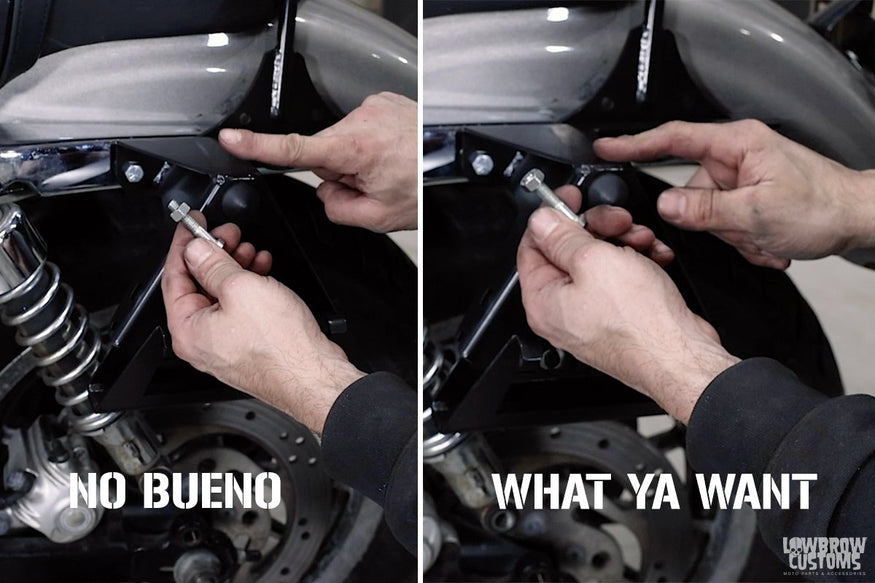 Make sure to check bolt clearance inside the fender. You don't need to many threads stick out and scraping or puncturing your rear tires. A flush bolt to the nut is what you want.
STEP 4: HOW TO SECURE YOUR SKATEBOARD
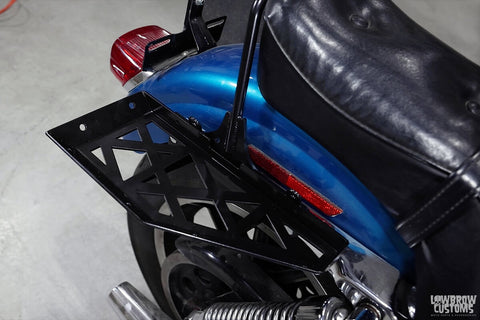
Make sure the rubber stopper is on the skateboard rack, that will save you some headaches and noise cancelation of the board rattling around. Ok, first take the supplied bungee chord and hook each end of the rack on the back side holes. The larger holes are just for the hook to pass through where needed after hooking. Hold the bungee up as high as you can like your hold a tote/bag strap and slide your board in grip tape faced in towards the bike. Pull the bungee chord over the board and secure onto the two hooks near the bottom where it says LOWBROW.
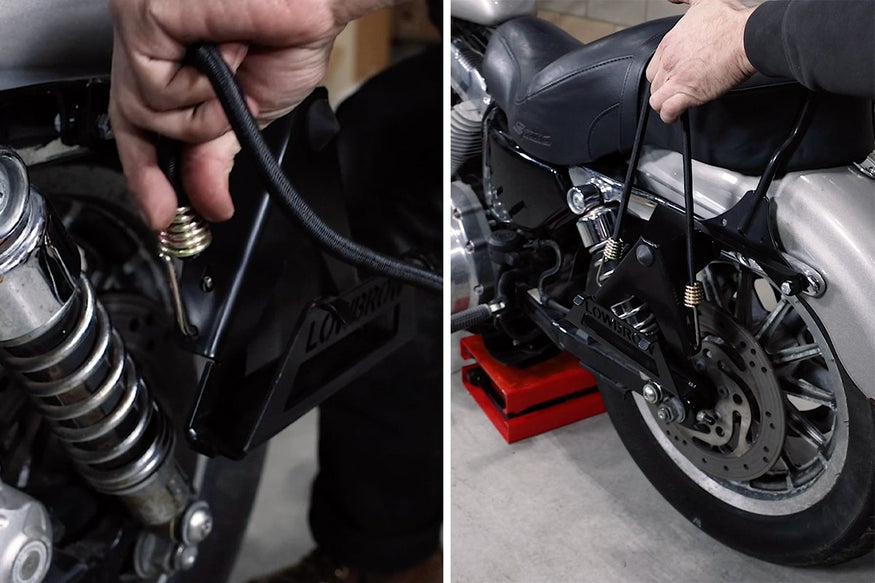 Note how the hooks go into the rack.
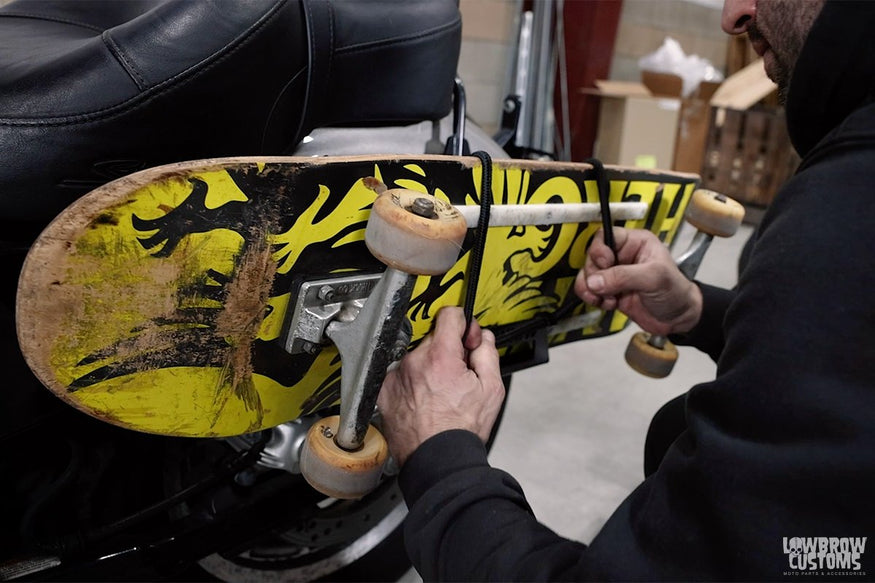
STEP 5: TIME TO SHRED
Thats it dude, you did it! Now its time to get out there and carve some bowls, drop in on the half pipe, do some tre flips, and shred your faces off via your favorite two wheeled transport. Forever Six Wheels man, hell yeah!
 You can comfortably have a passenger and your favorite board with you.
PHOTOS ON THE BIKE
 2007 Harley-Davidson Sportster with the Lowbrow Customs Skateboard Carrier Rack.
Combo rack, Skateboard Carrier Rack, Right side Moto Luggage Rack and Gasbox Sissybar.

Ready to shred.
Sleek and compact, yet easily accessible.
 LFG!
LFG!
Related Products


